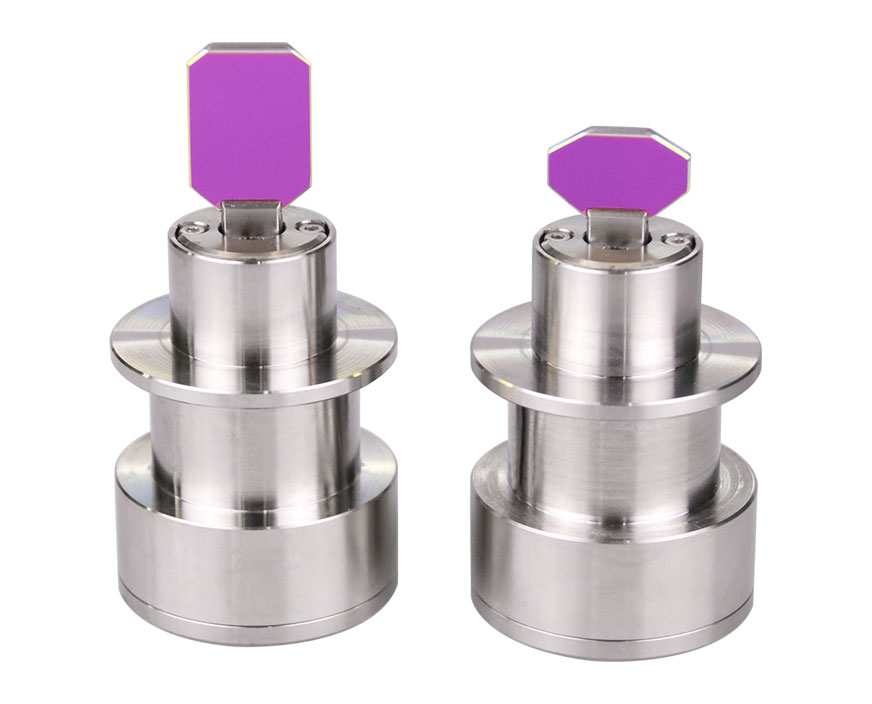
High-speed scanning galvo laser uses photoelectric sensors with high resolution and repeatability, as well as very small drift. The motor has a heating device and temperature sensor, allowing stable operation despite environmental fluctuations. The laser scanning galvanometer ensures long-term stable operation.
First, check if there are any breaks or short circuits in the galvo system connections, whether the connections are correct, and whether the safety fuse is intact. After confirming the correctness, turn on the power and observe whether the indicator light on the galvanometer driver board is green or yellow. If it is not on or it is red, disconnect the driver board power line and use a multimeter to measure whether the voltage of the input terminals is ±24V. If the voltage is normal, test again whether the voltage is normal when the driver board and machine load are connected. If they are still abnormal, open the control box and test the switch power supply voltage without the load. If the voltage is abnormal, the switch power supply is damaged. After the power input is normal, connect all the wires and turn on the power. The motor will generally make two clicking sounds. If there is no sound, gently push the galvanometer mirror with your hand. If the mirror does not lock up, the driver board is damaged. Of course, if the voltage output is normal and the driver board light is not on or red, then it is a problem with the galvanometer driver board or motor. In this case, find a driver board that has been confirmed to be intact, connect it correctly, and turn on the power. If the galvo motor still does not lock up, the galvo motor is damaged. Similarly, find a galvo motor that has been confirmed to be intact, connect it to the driver board that does not power on, turn on the power, and if it still does not power on, the galvanometer driver board is damaged. Repeat connecting and disconnecting the wires, please be sure to do it with the power off.

Use a confirmed intact galvo driver board and a intact galvo motor to connect to the test driver board and galvanometer head respectively. Turn on the power normally and gently turn the galvanometer shaft by hand. If it becomes "hard", it is normal. Otherwise, it can be determined that the galvanometer driver board and galvo motor are damaged.
Check whether the marking card has a control signal output. If there is, check whether the galvanometer signal connection is well connected. After confirming the correctness, mark the object. If there is still no swinging, check whether the signal wires are reversed or disconnected. Otherwise, it can be determined that the driver board is damaged.
The marking speed of the software is too fast, the field mirror is not installed, the galvo system does not move and the swinging position is incorrect, the galvanometer mirror falls off, or the galvanometer mirror is dirty. The first few problems can be solved using the above methods. If the galvanometer mirror falls off or cracks, it needs to be replaced with a new mirror and the laser needs to be adjusted by returning it to the company. If the galvanometer mirror is dirty, clean it with 99% alcohol and a degreasing cotton. If it cannot be wiped off and it is 1 square millimeter large in the center or edge of the galvanometer, the galvanometer mirror needs to be replaced, the same as handling for a fallen-off galvanometer mirror.